
FALCON GUIDE
Animation transitions
Animation presets coordinate mixer transitions with video preparation and start timing. They supplement the existing Cut, Mix, Dip, Wipe and DVE controls.
Before you start
Availability depends on the installed Play build and mixer. ATEM requires native Stinger support and a loaded animation clip. Carbonite/Carbonite Black uses a prepared MediaWipe with one execution owner. A Media Player or macro by itself does not establish Stinger support.
Create a preset
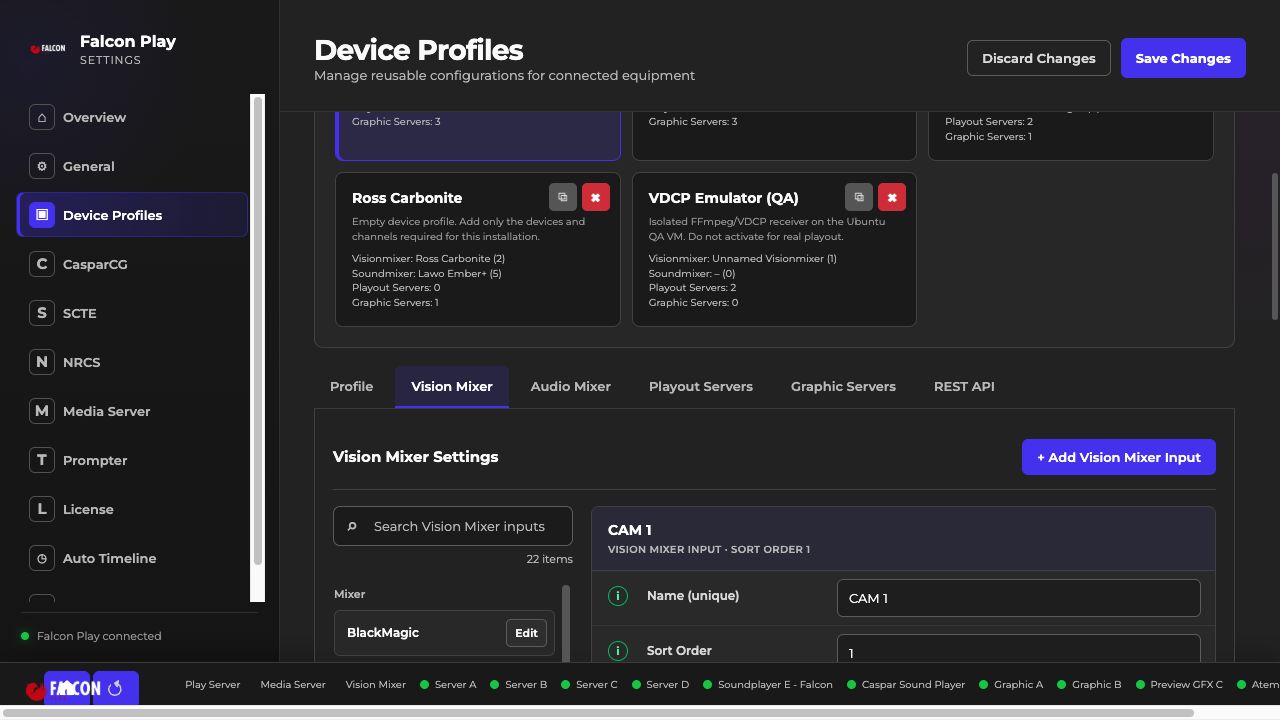
- Open Settings → Device Profiles → Vision Mixer → Transitions.
- Select + Add Transition and give the preset a clear name.
- Set the target ME, Animation Duration and Take Next Offset in whole frames.
- Set Video Start Offset when it should differ from the take point.
- Configure the appropriate native animation on the mixer and save the Play settings.
- Measure the output timing and playout latency during commissioning.
Choose one execution owner
For ATEM, the native Stinger owns the physical source change. For Carbonite, use either prepare-then-AUTO or one complete Custom Control. Avoid combining a preset with input macros or memories that also take, change Preview or run a second transition.
Check timing
Animation Duration, native transition rate and playout start latency are different settings. Frame timing depends on the actual project timebase and output chain. Command acceptance and software logs are not a measurement of the resulting SDI or NDI picture.
Recover from uncertainty
If a start or playback result is uncertain, inspect the mixer and video outputs before releasing resources. Reset transition lock is an explicit acknowledgement after inspection; it does not stop equipment or repair the picture. Rehearse every preset on the intended hardware before operational use.